Docs

Docs

  • Develop
  • Validate
  • Integrate
  • Learn

›Wallet

Welcome to Elrond

  • Welcome to Elrond

Technology

  • Architecture Overview
  • Glossary
  • Entities
  • Chronology
  • Secure Proof of Stake
  • Adaptive State Sharding
  • The Elrond WASM VM
  • Cross Shard Transactions

Wallet

  • Wallets - Overview
  • Web Wallet
  • Maiar Web Wallet Extension
  • Webhooks
  • Ledger

Tokens

  • Native Tokens
  • ESDT tokens
  • NFT tokens

Validators

  • Validators - Overview
  • System Requirements
  • Install a Mainnet Node

    • Scripts & User config
    • Installing a Validator Node
    • Optional Configurations
    • How to use the Docker Image

    Install a Testnet/Devnet Node

    • Scripts & User config
    • Installing a Validator Node
    • Manage a validator node
    • How to use the Docker Image

    Manage your keys

    • Validator Keys
    • Wallet Keys
    • Protecting your keys

    Staking, Unstaking, Unjailing

    • Staking, unstaking and unjailing
    • Staking
    • Unjailing
    • The Staking Smart Contract
  • The Delegation Manager
  • Convert An Existing Validator Into A Staking Pool
  • Merging A Validator Into An Existing Delegation Smart Contract
  • Rating
  • Elrond Node upgrades
  • Node redundancy
  • Import DB
  • Node CLI
  • Node Databases
  • Useful Links & Tools
  • FAQs

Developers

  • Developers - Overview
  • Tutorials

    • Build a dApp in 15 minutes
    • Build a Microservice for your dApp
    • The Crowdfunding Smart Contract (part 1)
    • The Crowdfunding Smart Contract (part 2)
    • The Counter Smart Contract
    • Custom Wallet Connect

    Signing Transactions

    • Signing Transactions
    • Tools for signing
    • Signing programmatically

    Gas and Fees

    • Overview
    • EGLD transfers (move balance transactions)
    • System Smart Contracts
    • User-defined Smart Contracts

    Developer reference

    • The Elrond Serialization Format
    • Smart contract annotations
    • Smart contract modules
    • Smart contract to smart contract calls
    • Smart Contract Developer Best Practices
    • Code Metadata
    • Smart Contract API Functions
    • Storage Mappers
    • Rust Testing Framework
    • Rust Testing Framework Functions Reference
    • Rust Smart Contract Debugging
    • Random Numbers in Smart Contracts

    Developers Best Practices

    • Basics
    • BigUint Operations
    • The dynamic allocation problem
    • Multi-values

    Mandos tests reference

    • Mandos Overview
    • Mandos Structure
    • Mandos Simple Values
    • Mandos Complex Values
    • Embedding Mandos code in Go
  • Constants
  • Built-In Functions
  • Account storage
  • Setup a Local Testnet
  • Set up a Local Testnet (advanced)
  • Creating Wallets

SDK and Tools

  • SDKs and Tools - Overview
  • REST API

    • REST API overview
    • api.elrond.com
    • Gateway overview
    • Addresses
    • Transactions
    • Network
    • Nodes
    • Blocks
    • Virtual Machine
    • Versions and Changelog
  • Proxy
  • Elasticsearch
  • erdpy

    • erdpy
    • Installing erdpy
    • Configuring erdpy
    • erdpy CLI
    • Deriving the Wallet PEM file
    • Sending bulk transactions
    • Writing and running erdpy scripts
    • Smart contract interactions

    erdjs

    • erdjs
    • Cookbook
    • Extending erdjs
    • Writing and testing interactions
    • Migration guides
    • Signing Providers for dApps
  • erdgo
  • erdcpp
  • erdjava
  • erdkotlin
  • erdwalletjs-cli

Integrators

  • Integrators - Overview
  • EGLD integration guide
  • ESDT tokens integration guide
  • Observing Squad
  • Accounts Management
  • Creating Transactions
  • Querying the Blockchain

Ledger

You can safely store your EGLD by installing the Elrond EGLD app on your Ledger Nano S or Ledger Nano X device. We recommend using a hardware wallet for managing large amounts of EGLD.

Before you begin‌

  1. Set up your Ledger device
  2. Download the Ledger Live application
  3. Upgrade your device with the latest firmware‌

Install the Elrond EGLD app on your Ledger‌

Teach your Ledger device to work with EGLD by installing the Elrond app on it.‌

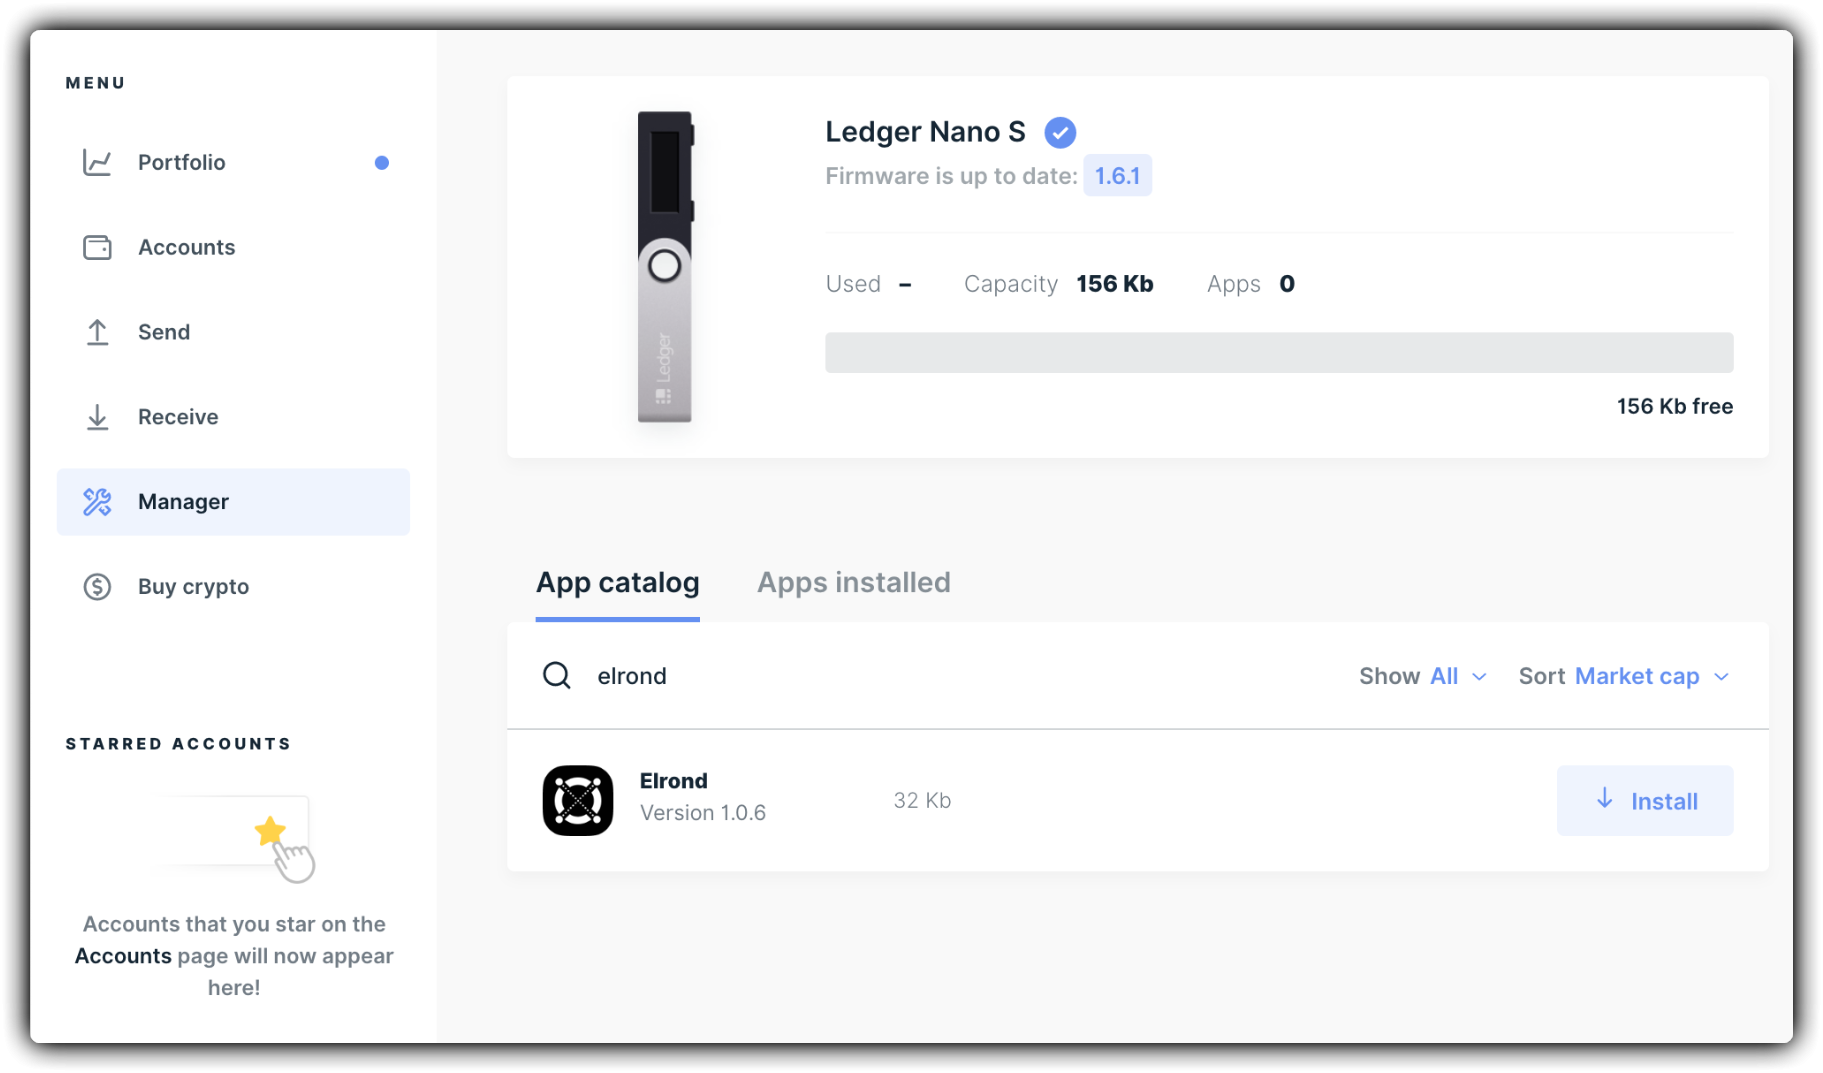
  • Open the Ledger Live application
  • Click on the “Manager” section in the app
  • Connect and unlock your Ledger device
  • If prompted, allow the Manager on your device by pressing the two buttons
  • In the App catalog search for “Elrond”
  • Click the “Install” button next to the Elrond app
  • Your Ledger device will display “Processing” as the app installs

img

Awesome, you did everything perfectly!

Log into your Elrond wallet using the Ledger device

  • Make sure your Ledger device is connected to your computer
  • Log into your Ledger device
  • Navigate to the Elrond Network app & open it by pushing both buttons on your device
  • In your web browser navigate to https://wallet.elrond.com
  • Select "Ledger" from the Login options

img

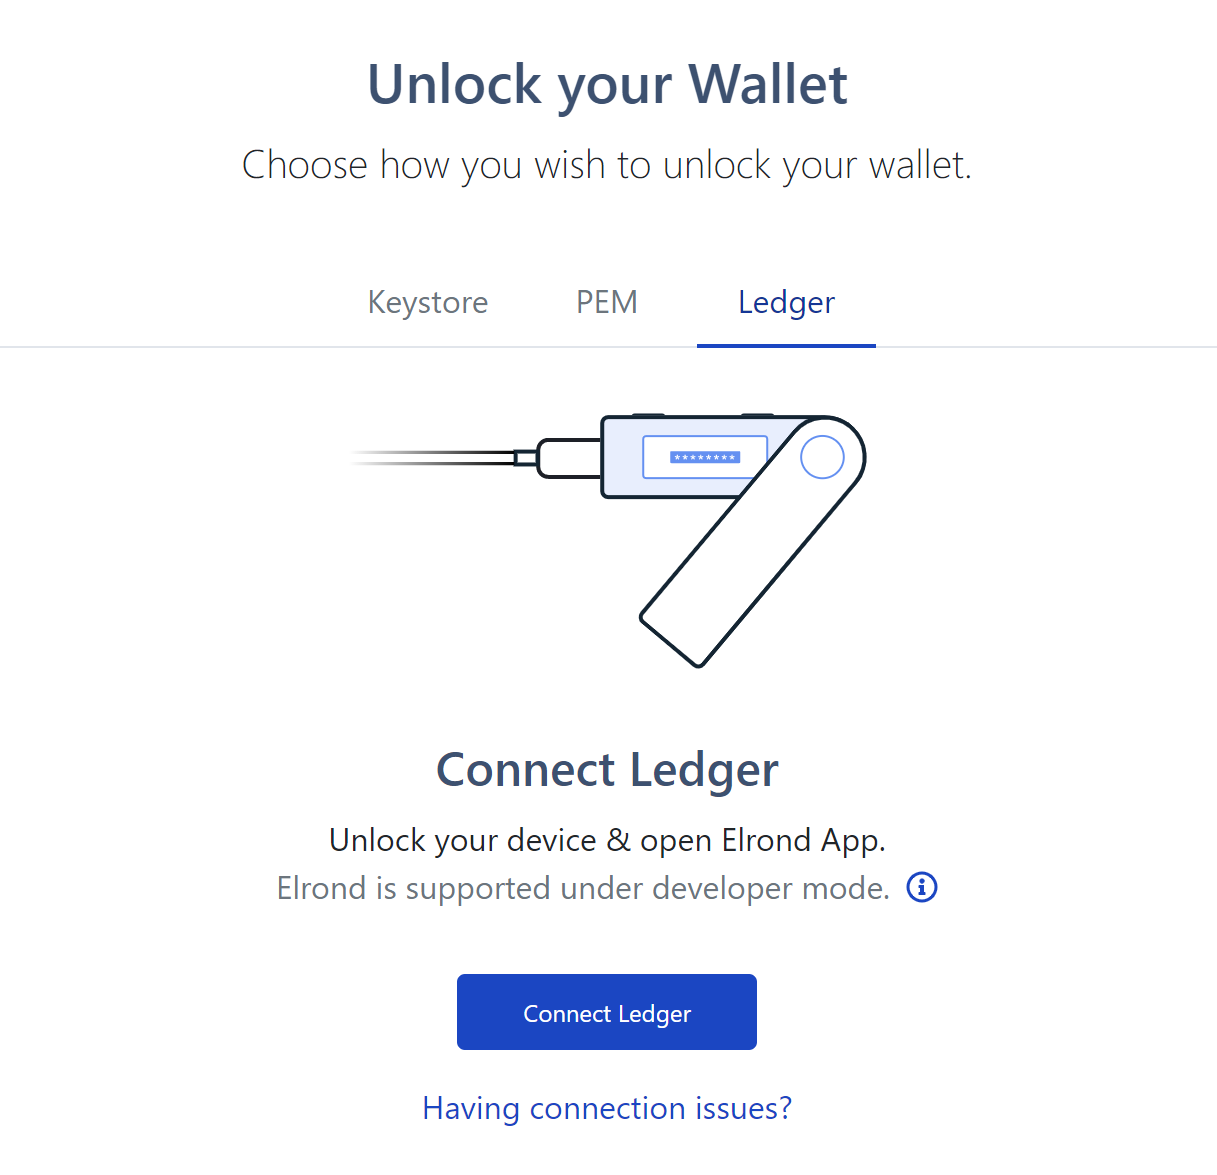
  • A pop-up will notify you that your Ledger wants to connect. Allow it by clicking "Connect"

img

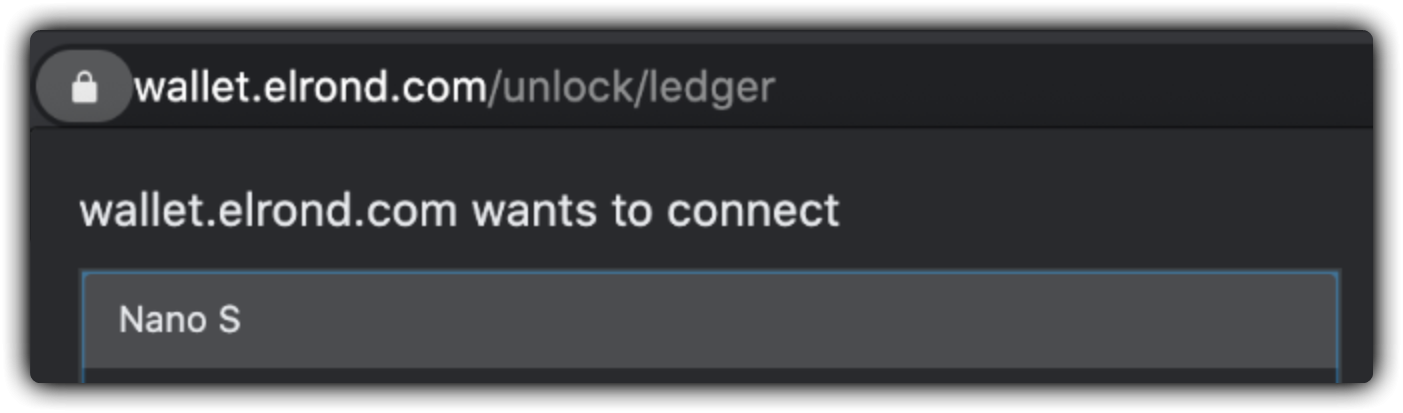
Your Elrond Wallet will now open.‌

Overview of your EGLD balance‌

After logging into your wallet, your EGLD balances are immediately visible and displayed in easy to follow boxes.

img

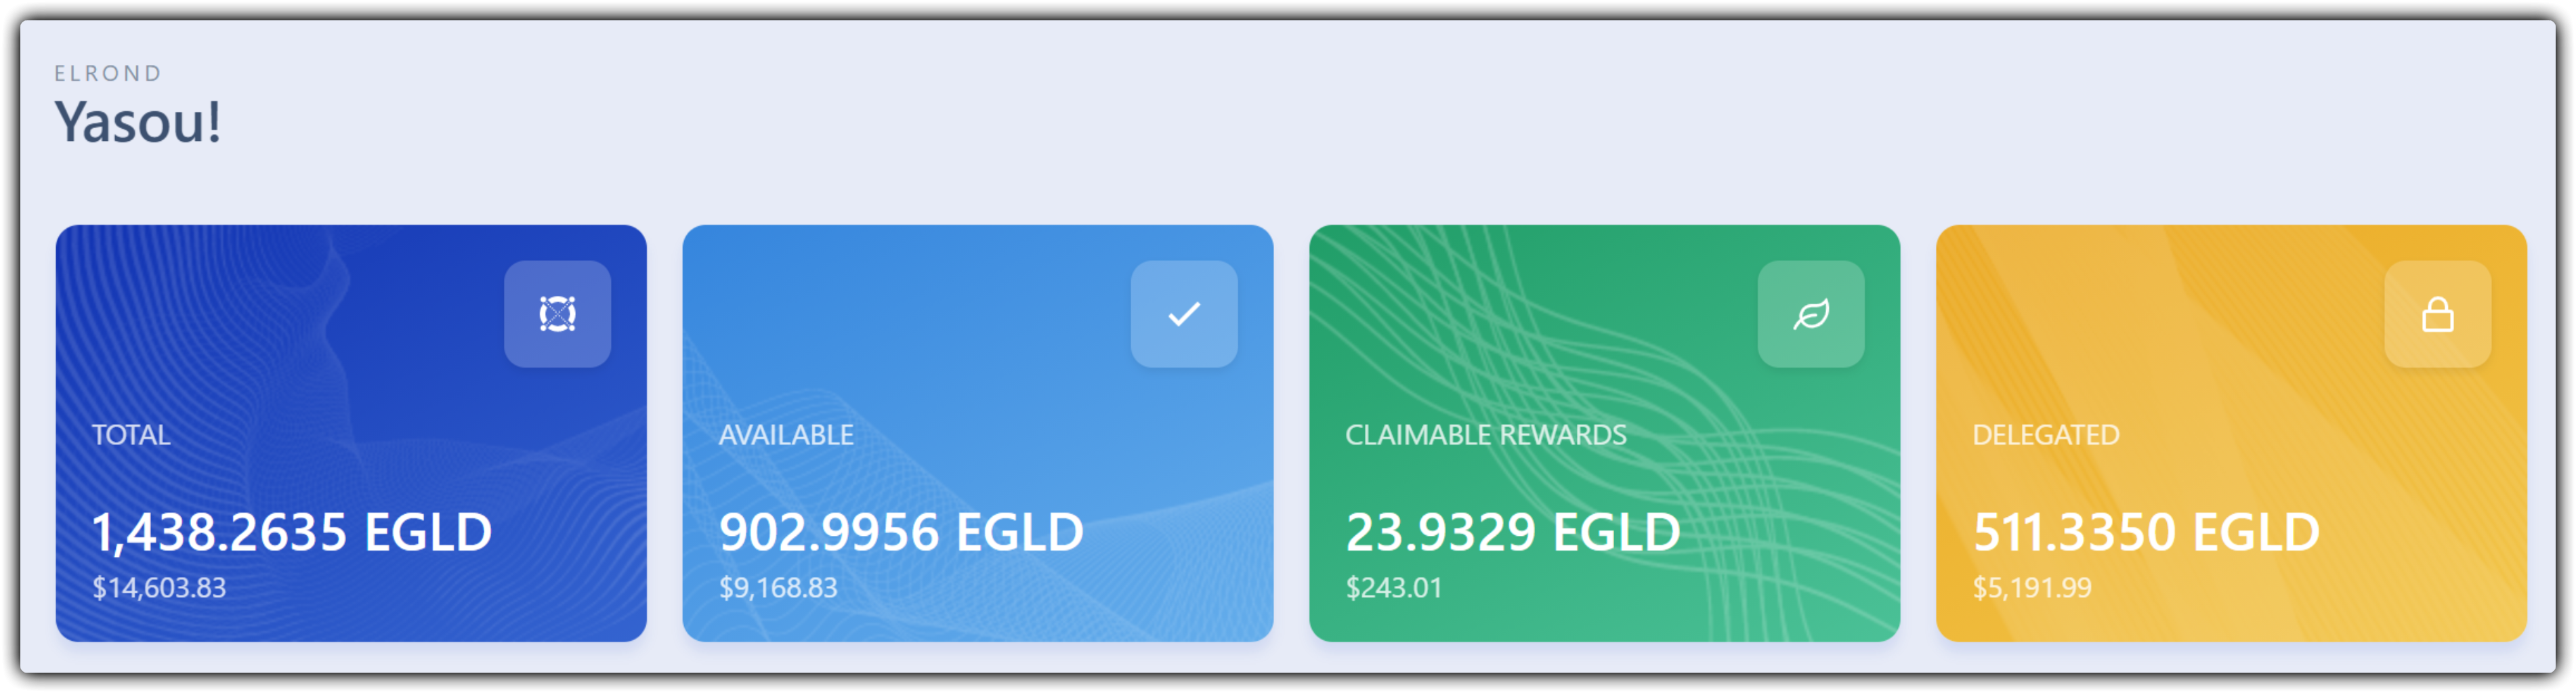
  • Available: freely transferable EGLD balance
  • Claimable rewards: delegation rewards that can be claimed
  • Delegated: Amount of EGLD delegated towards a Staking Services provider
  • Total: the total amount of EGLD associated with this address, sum of the above‌

Send a transaction using the Ledger‌

In the Elrond web wallet:‌

  • Click "Send"
  • Input the destination address & amount
  • Click Send
  • In the next screen click "Confirm & Check your Ledger"img

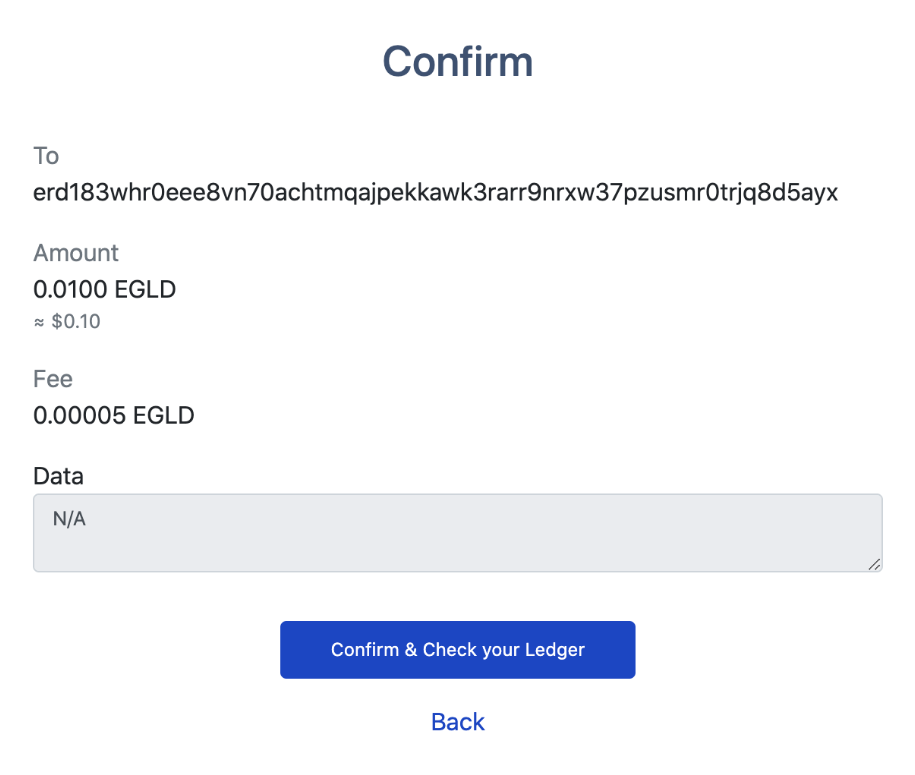
On your Ledger device:‌

  • Review the receiver address, amount & fee on your Ledger device
  • Sign the transaction by pressing both buttons‌

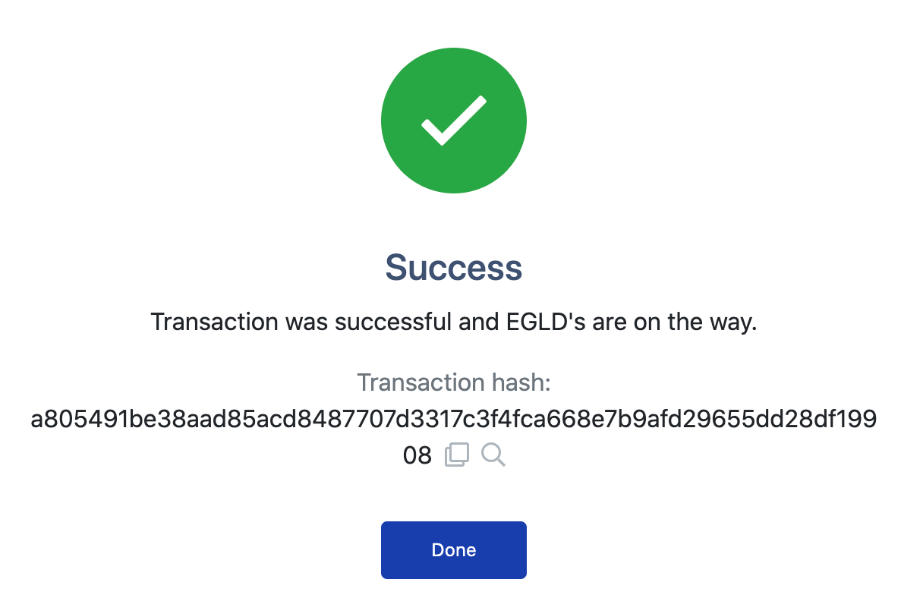
Awesome, your transaction is now sent using your Ledger device.

img

Receiving EGLD in your wallet‌

After logging into your wallet, as described above, you will be able to see your wallet address and share it with others, so they can send you EGLD.‌

Your address is immediately visible on the top part of the wallet, as "Address erd1... ". You can copy the address by pressing the copy button (two overlapping squares). ‌

You can also click "Receive" on the left-hand side to see a QR code for the address, which can be scanned to reveal the public address.

img

Need help?‌

  • Reach out to Elrond on your preferred channel
← WebhooksNative Tokens →
  • Before you begin‌
  • Install the Elrond EGLD app on your Ledger‌
  • Log into your Elrond wallet using the Ledger device
  • Overview of your EGLD balance‌
  • Send a transaction using the Ledger‌
  • Receiving EGLD in your wallet‌
  • Need help?‌
Made withby the Elrond team.
GithubChat
Main siteWalletExplorerBridgeDocsGrowthMaiarMaiar Exchange